P
Pot and Plot Team
Guest
- Thread Author
- #1
This post may contain affiliate links. If you buy through links on this page, we may earn a commission at no extra cost to you.
As an Amazon Associate I earn from qualifying purchases.
Uneven germination is the quiet thief of a seed-starting season. Half the tray sprouts on day five, the rest straggle in over two weeks, and you end up with leggy early birds shading latecomers that never catch up. The medium you sow into decides more of this than most gardeners expect. A fine, uniform texture holds moisture evenly around every seed, drains the same way in every cell, and carries no weed seeds or fertilizer spikes. This article compares the three practical ways to get that medium: bagged seed-starting mixes, compressed pellets, and do-it-yourself component blends.
Seeds need three things from their medium: steady moisture, air around the seed coat, and a fine texture that keeps every seed in close contact with damp material. Big bark chunks create air pockets where seeds dry out. Heavy, soggy mixes suffocate them. Iowa State University Extension puts it plainly: the germination medium should be lightweight, porous, and free of pathogens, and commercially prepared soilless mixes are the reliable way to get that. Temperature matters as much as texture. Most vegetable and flower seeds germinate fastest with the medium at 70 to 75 degrees Fahrenheit, which is why a heat mat often beats a fancier mix. Buy the mix for uniformity, and manage temperature and moisture for speed.
Bagged mixes, pellets, and DIY blends all aim at the same target, but they suit different scales and budgets. The table below compares them on the specs that affect germination.
A bag labeled “seed starting mix” is usually a soilless blend of fine peat moss or coco coir with perlite or vermiculite, screened finer than standard potting soil and carrying little or no fertilizer. That fine screen is the whole point: seeds sit in full contact with damp material instead of bridging across bark chips. When you shop, squeeze a handful through your fingers at the garden center if the bag lets you, or read reviews that mention texture. A bag full of coarse chunks is potting soil wearing the wrong label, and it germinates like it.
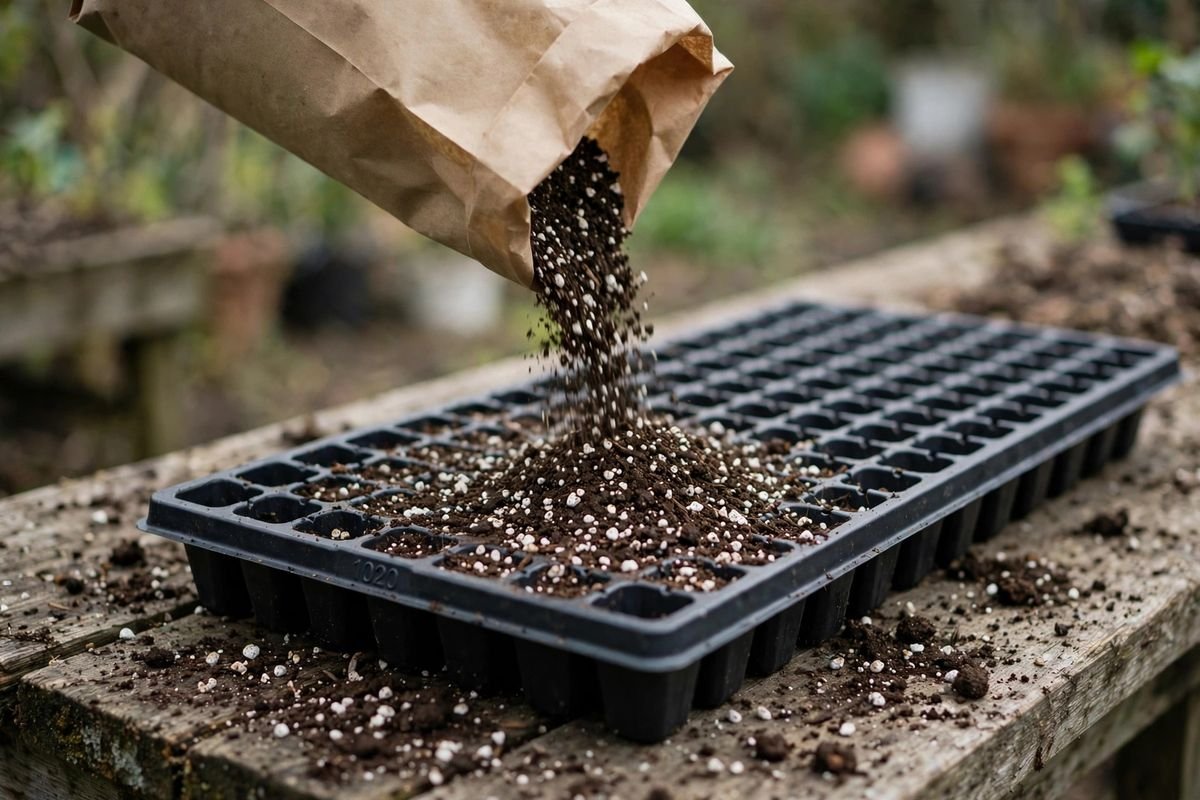
Bagged mixes are the default we suggest for standard trays because they remove a variable. Every cell starts the same, which is exactly what even germination needs. Store the open bag somewhere dry; a bag that sat out in the rain all winter arrives compacted and behaves differently from the fluffy mix inside a fresh bag.
Browse seed starting mixes on Amazon
Peat or coir pellets arrive as dry discs in netting and swell into small pucks when soaked. Each seed gets its own pre-measured cell of medium, which is genuinely convenient: no filling trays, no spilled mix on the counter, and transplanting means moving the whole puck into a bigger pot. For a dozen tomato plants or a classroom demo, pellets are hard to beat on tidiness.
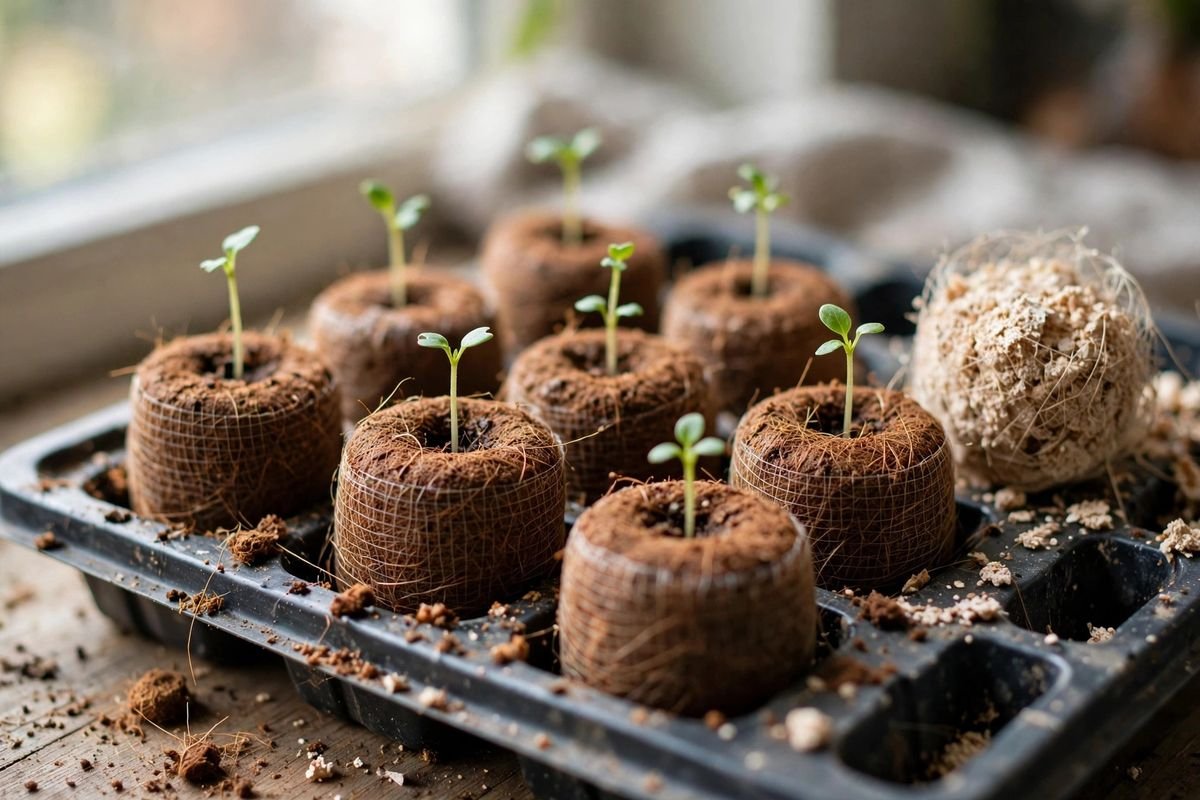
The catch is scale and the netting. Per cell, pellets cost several times more than scooped mix, so a full 72-cell tray of pellets is a different budget line than the same tray filled from a bag. The mesh netting around each puck is marketed as biodegradable, but roots sometimes circle inside it instead of pushing through, so many gardeners peel it off at transplant time. If you use pellets, that extra step is part of the routine. Our notes on reusable versus disposable seed trays cover how pellet trays fit into a tray system you keep for years.
Browse seed starting pellets on Amazon
Mixing your own means buying the components separately, most often fine peat moss or coco coir plus perlite and vermiculite. A common starting ratio is equal parts coir and perlite with a smaller share of vermiculite for water holding, adjusted wetter or drier for your climate. The advantage is control and, at volume, cost: a compressed bale of peat and a big bag of perlite fill far more trays per dollar than small retail bags of premixed product.
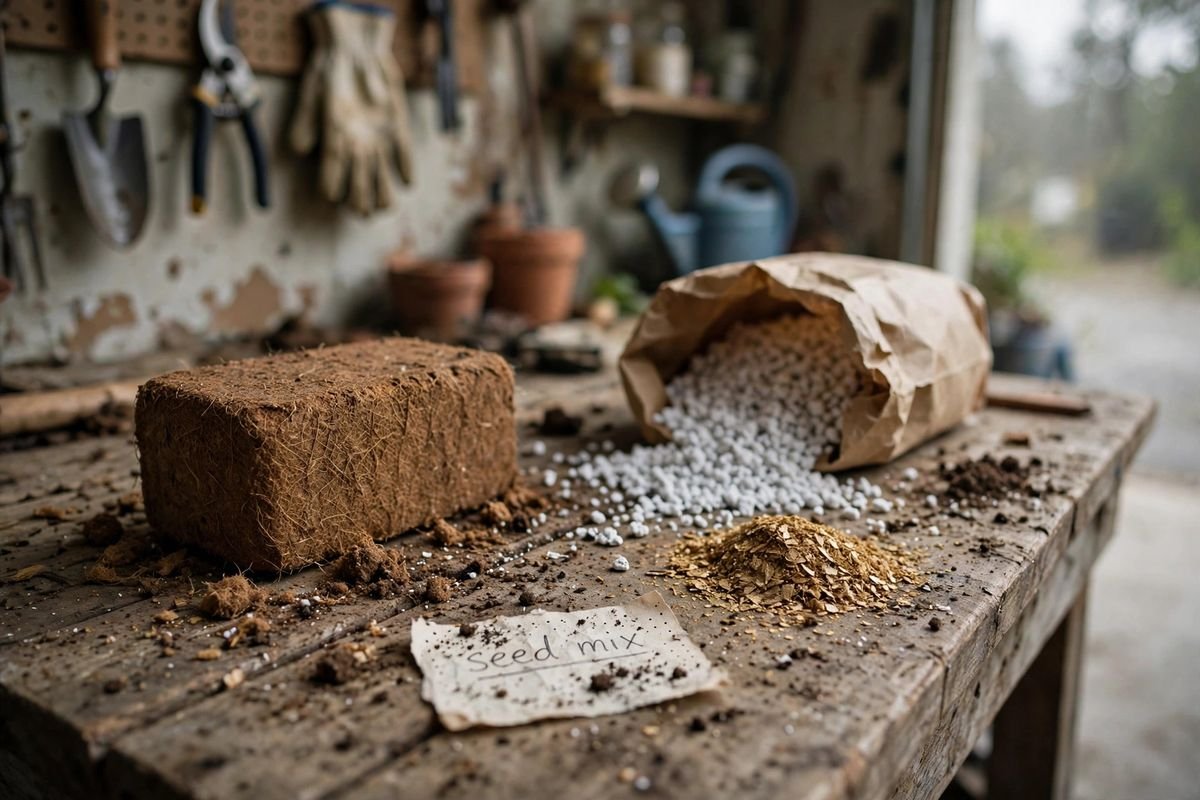
The honest tradeoff is labor and consistency. You are the quality control, so screen out lumps, mix thoroughly, and pre-moisten before filling cells, because dry pockets in a homemade batch germinate as unevenly as a bad bagged mix. Homemade blends also carry no sterility promise; gardeners who reuse components sometimes pasteurize damp mix in the oven, but for most home growers, fresh ingredients and clean trays are enough. If you start more than a few dozen trays a year, the savings justify the mixing afternoon.
Browse coir, perlite, and vermiculite on Amazon
Here is our own volume and cost math for a standard 1020 tray, with assumptions stated. A 1020 tray measures about 10 by 20 inches and 2.5 inches deep, which multiplies to 500 cubic inches. One dry quart is 57.75 cubic inches, so a brim-full tray holds about 8.7 quarts. Real trays are never brim-full: with a 72-cell insert and normal fill, figure about 70 percent of that, roughly 6 quarts per tray.
Prices move by store and season, so treat these as shape-of-the-math numbers, not quotes. The takeaway holds across price swings: bagged mix is the middle path, DIY wins on cost once you pass a handful of trays, and pellets charge a premium for zero-mess convenience. For most home gardeners starting two to six trays, the bagged mix costs less than a takeout lunch per tray, which is not where the budget pressure lives.
Even the best mix germinates unevenly if moisture swings. Pre-moisten the mix before sowing so it holds together when squeezed without dripping, sow at the depth the packet recommends, and cover the tray with a dome or plastic wrap until sprouts appear. Our method for bottom-watering seedlings keeps the surface from crusting, which is the usual cause of patchy emergence. Keep the medium at 70 to 75 degrees until germination, then move sprouts under lights immediately; warmth without light grows leggy seedlings fast. And sow on time: count back from your last frost date using the packet’s indoor-weeks number. Use your local frost dates and regional planting guidance, not your USDA hardiness zone alone, to choose planting dates. For depth questions by seed size, see how deep seed-starting cells should be.
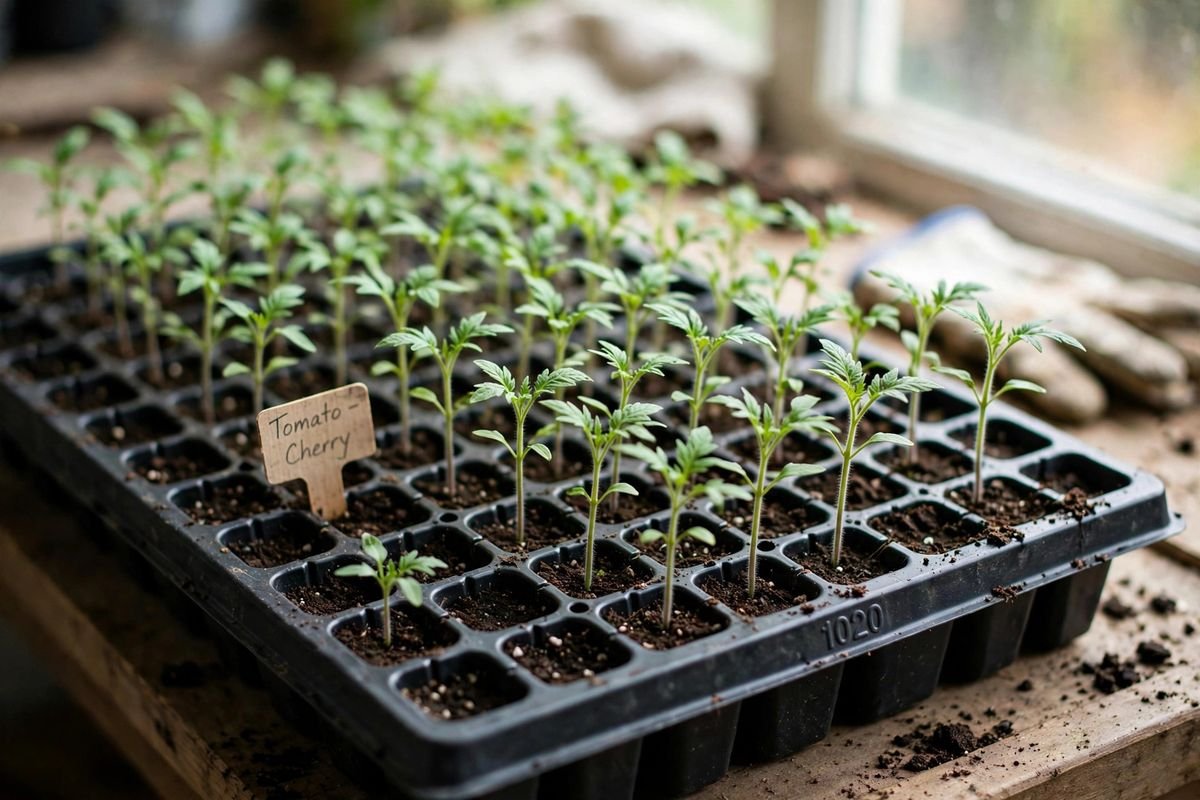
Choose a fine-textured bagged mix if you start a few trays a year and want one less variable to manage. Choose compressed pellets if you sow small batches, value a clean countertop, and accept the higher per-cell cost. Choose a DIY blend if you run real volume and do not mind an afternoon of mixing and screening. Whichever you pick, pair it with steady moisture and 70 to 75 degree warmth, because those two decide germination speed more than the bag does.
As an Amazon Associate I earn from qualifying purchases.
Uneven germination is the quiet thief of a seed-starting season. Half the tray sprouts on day five, the rest straggle in over two weeks, and you end up with leggy early birds shading latecomers that never catch up. The medium you sow into decides more of this than most gardeners expect. A fine, uniform texture holds moisture evenly around every seed, drains the same way in every cell, and carries no weed seeds or fertilizer spikes. This article compares the three practical ways to get that medium: bagged seed-starting mixes, compressed pellets, and do-it-yourself component blends.
What makes seeds germinate fast and evenly
Seeds need three things from their medium: steady moisture, air around the seed coat, and a fine texture that keeps every seed in close contact with damp material. Big bark chunks create air pockets where seeds dry out. Heavy, soggy mixes suffocate them. Iowa State University Extension puts it plainly: the germination medium should be lightweight, porous, and free of pathogens, and commercially prepared soilless mixes are the reliable way to get that. Temperature matters as much as texture. Most vegetable and flower seeds germinate fastest with the medium at 70 to 75 degrees Fahrenheit, which is why a heat mat often beats a fancier mix. Buy the mix for uniformity, and manage temperature and moisture for speed.
Three options compared
Bagged mixes, pellets, and DIY blends all aim at the same target, but they suit different scales and budgets. The table below compares them on the specs that affect germination.
| Option | Texture | Moisture behavior | Typical cost shape | Best for | Watch out for |
|---|---|---|---|---|---|
| Bagged seed-starting mix | Fine, screened, uniform | Holds water evenly, drains freely | One bag fills several trays | Standard trays of vegetables and flowers | Cheap bags can contain bark chunks; check the texture before buying |
| Compressed pellets or discs | Pre-measured, expands with water | Even within each pellet, dries at the edges | Higher cost per cell | Small batches, gifts, classroom projects | Nets can constrict roots; cost climbs fast at tray scale |
| DIY component blend | As fine as you screen it | You control the ratio | Lowest cost per tray at volume | Big seed-starting operations, custom needs | Mixing and storing ingredients takes space; no sterility guarantee unless you pasteurize |
Fine-textured bagged mixes
A bag labeled “seed starting mix” is usually a soilless blend of fine peat moss or coco coir with perlite or vermiculite, screened finer than standard potting soil and carrying little or no fertilizer. That fine screen is the whole point: seeds sit in full contact with damp material instead of bridging across bark chips. When you shop, squeeze a handful through your fingers at the garden center if the bag lets you, or read reviews that mention texture. A bag full of coarse chunks is potting soil wearing the wrong label, and it germinates like it.
Bagged mixes are the default we suggest for standard trays because they remove a variable. Every cell starts the same, which is exactly what even germination needs. Store the open bag somewhere dry; a bag that sat out in the rain all winter arrives compacted and behaves differently from the fluffy mix inside a fresh bag.
Browse seed starting mixes on Amazon
Compressed pellets and discs
Peat or coir pellets arrive as dry discs in netting and swell into small pucks when soaked. Each seed gets its own pre-measured cell of medium, which is genuinely convenient: no filling trays, no spilled mix on the counter, and transplanting means moving the whole puck into a bigger pot. For a dozen tomato plants or a classroom demo, pellets are hard to beat on tidiness.
The catch is scale and the netting. Per cell, pellets cost several times more than scooped mix, so a full 72-cell tray of pellets is a different budget line than the same tray filled from a bag. The mesh netting around each puck is marketed as biodegradable, but roots sometimes circle inside it instead of pushing through, so many gardeners peel it off at transplant time. If you use pellets, that extra step is part of the routine. Our notes on reusable versus disposable seed trays cover how pellet trays fit into a tray system you keep for years.
Browse seed starting pellets on Amazon
DIY component blends
Mixing your own means buying the components separately, most often fine peat moss or coco coir plus perlite and vermiculite. A common starting ratio is equal parts coir and perlite with a smaller share of vermiculite for water holding, adjusted wetter or drier for your climate. The advantage is control and, at volume, cost: a compressed bale of peat and a big bag of perlite fill far more trays per dollar than small retail bags of premixed product.
The honest tradeoff is labor and consistency. You are the quality control, so screen out lumps, mix thoroughly, and pre-moisten before filling cells, because dry pockets in a homemade batch germinate as unevenly as a bad bagged mix. Homemade blends also carry no sterility promise; gardeners who reuse components sometimes pasteurize damp mix in the oven, but for most home growers, fresh ingredients and clean trays are enough. If you start more than a few dozen trays a year, the savings justify the mixing afternoon.
Browse coir, perlite, and vermiculite on Amazon
Worked example: how much mix one tray needs, and what it costs
Here is our own volume and cost math for a standard 1020 tray, with assumptions stated. A 1020 tray measures about 10 by 20 inches and 2.5 inches deep, which multiplies to 500 cubic inches. One dry quart is 57.75 cubic inches, so a brim-full tray holds about 8.7 quarts. Real trays are never brim-full: with a 72-cell insert and normal fill, figure about 70 percent of that, roughly 6 quarts per tray.
- Bagged mix: an 8-quart bag at an illustrative $8 works out to $1 per quart, so about $6 per filled tray.
- DIY blend: a compressed 3-cubic-foot bale of peat (about 26 dry quarts expanded, at an illustrative $15) plus perlite bought in bulk can land near $0.40 per quart, so about $2.40 per tray, before your mixing time.
- Pellets: 72 pellets at an illustrative $0.17 each come to about $12 per tray, no filling labor.
Prices move by store and season, so treat these as shape-of-the-math numbers, not quotes. The takeaway holds across price swings: bagged mix is the middle path, DIY wins on cost once you pass a handful of trays, and pellets charge a premium for zero-mess convenience. For most home gardeners starting two to six trays, the bagged mix costs less than a takeout lunch per tray, which is not where the budget pressure lives.
Getting even germination from any mix
Even the best mix germinates unevenly if moisture swings. Pre-moisten the mix before sowing so it holds together when squeezed without dripping, sow at the depth the packet recommends, and cover the tray with a dome or plastic wrap until sprouts appear. Our method for bottom-watering seedlings keeps the surface from crusting, which is the usual cause of patchy emergence. Keep the medium at 70 to 75 degrees until germination, then move sprouts under lights immediately; warmth without light grows leggy seedlings fast. And sow on time: count back from your last frost date using the packet’s indoor-weeks number. Use your local frost dates and regional planting guidance, not your USDA hardiness zone alone, to choose planting dates. For depth questions by seed size, see how deep seed-starting cells should be.
Our take: choose by how many trays you start
Choose a fine-textured bagged mix if you start a few trays a year and want one less variable to manage. Choose compressed pellets if you sow small batches, value a clean countertop, and accept the higher per-cell cost. Choose a DIY blend if you run real volume and do not mind an afternoon of mixing and screening. Whichever you pick, pair it with steady moisture and 70 to 75 degree warmth, because those two decide germination speed more than the bag does.
Sources & further reading
- Iowa State University Extension, Supplies for Starting Seeds Indoors, yardandgarden.extension.iastate.edu/how-to/supplies-starting-seeds-indoors
- Iowa State University Extension, What type of germination medium should I use, yardandgarden.extension.iastate.edu/faq/what-type-germination-medium-should-i-use-start-seedlings-indoors